




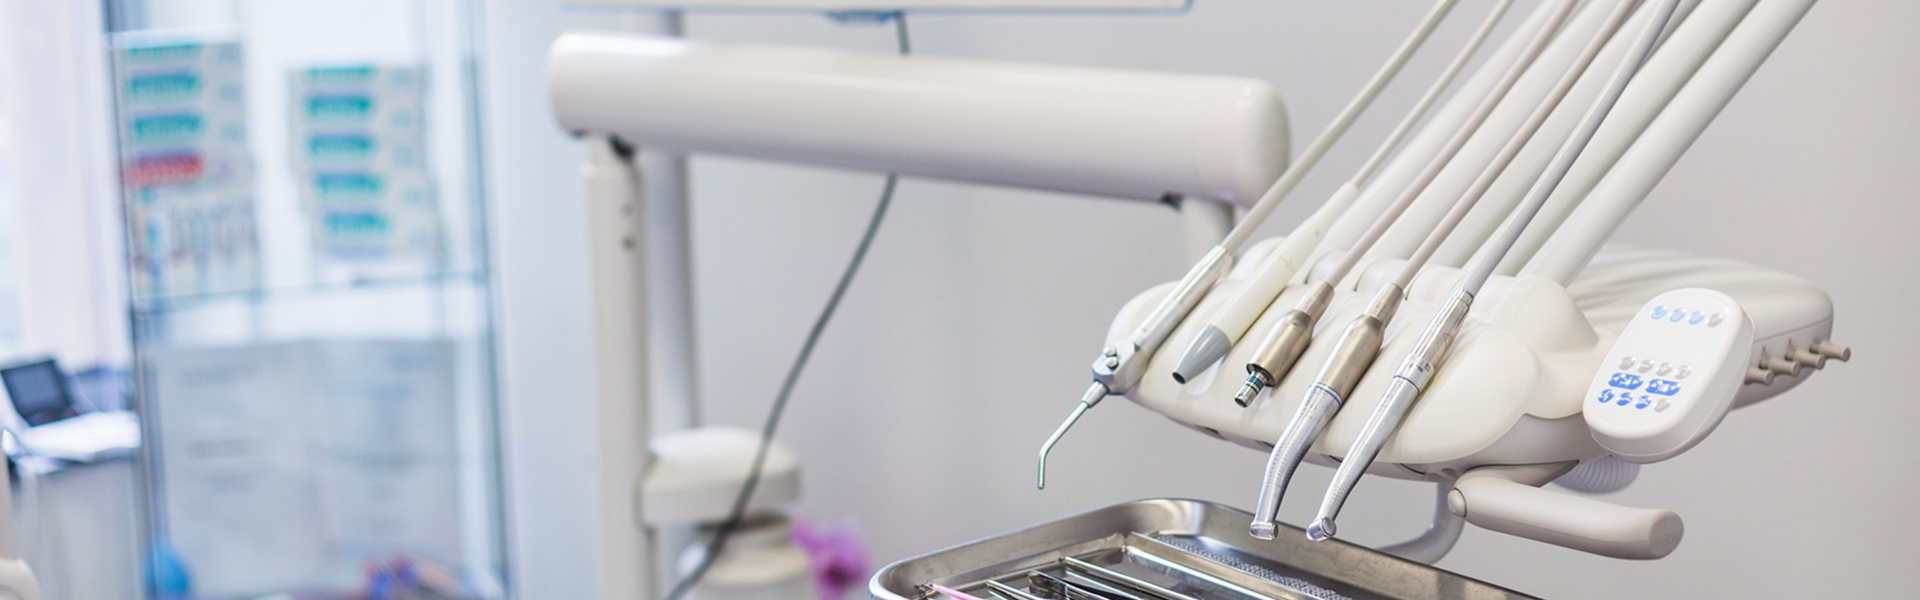
Moisture Control in Veneer Bonding: Key Techniques
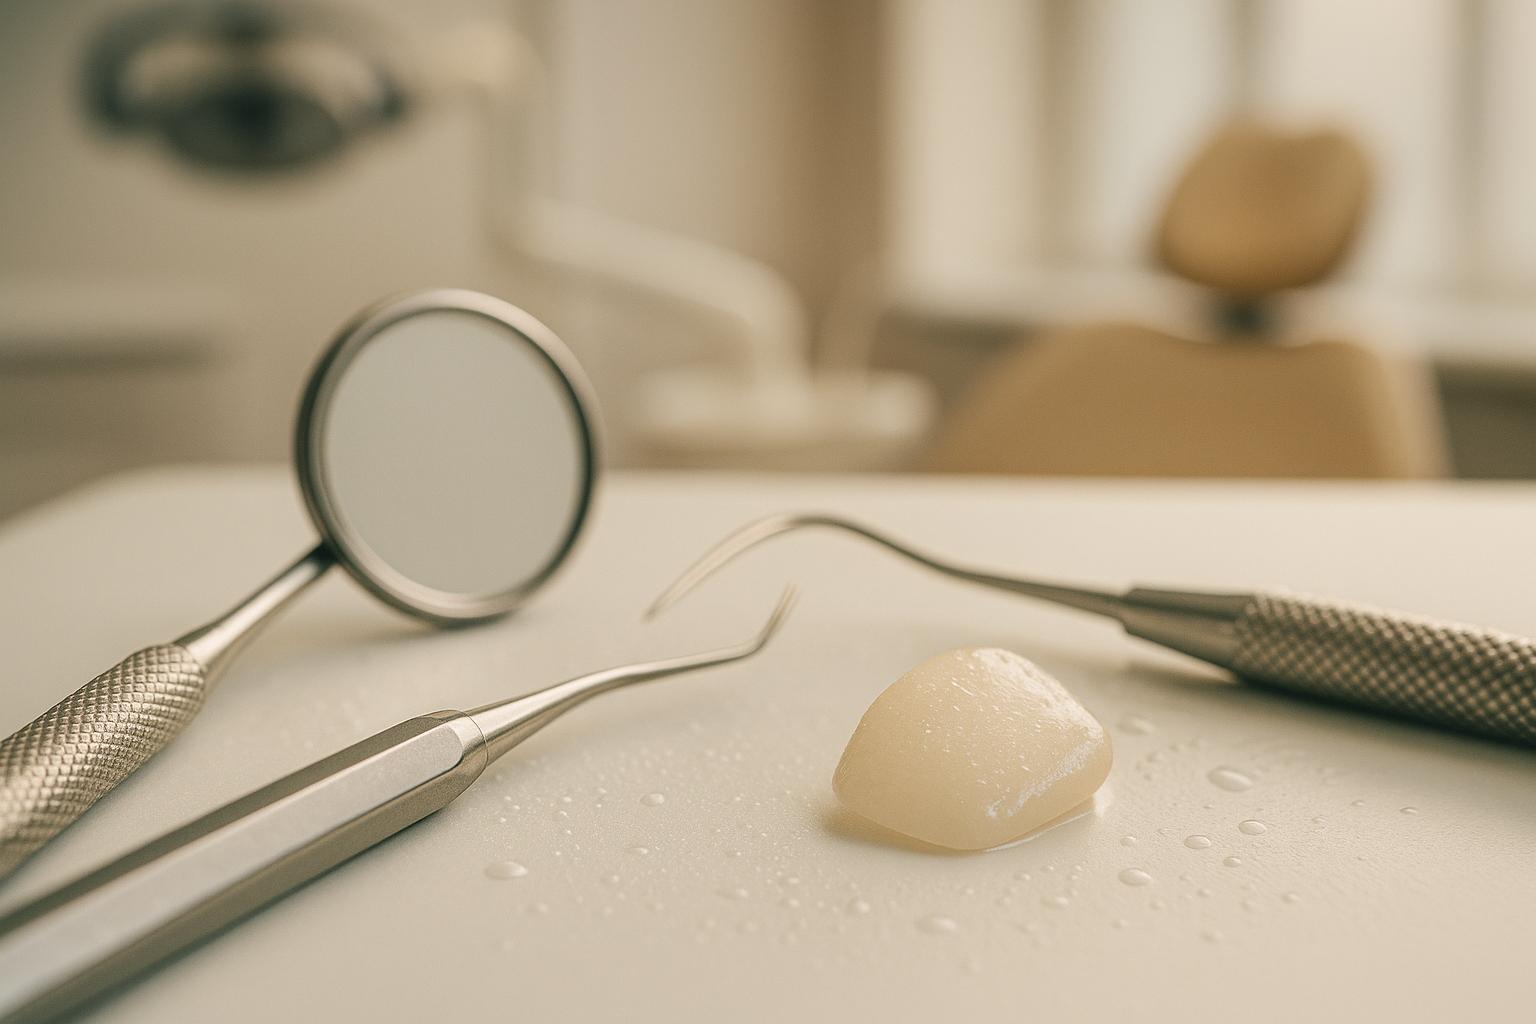
Moisture control is the cornerstone of successful veneer bonding. Without it, bond strength can drop by up to 50%, leading to veneer failure, marginal leakage, and sensitivity. This article outlines practical strategies to manage moisture effectively, ensuring strong and durable bonds.
Key points:
- Why moisture control matters: Moisture from saliva, blood, or breath reduces enamel’s surface energy, weakens adhesive bonds, and causes issues like postoperative sensitivity and bacterial infiltration.
- Top techniques: Rubber dam isolation is the gold standard, but alternatives like cotton rolls, cheek retractors, and high-volume suction can also work in specific cases.
- Adhesive systems: Total-etch systems demand precise moisture control but offer better enamel bonds. Self-etch systems are simpler and more forgiving, especially for dentine-rich surfaces.
- Best practices: Use a resin coating for exposed dentine, monitor for contamination, and re-etch if needed.
Mastering Veneer Bonding: Why Isolation Is Critical for Porcelain Veneers Success
Why Moisture Control Matters for Veneer Bonding
Managing moisture is crucial when it comes to veneer bonding because it directly affects how well the adhesive performs.
How Moisture Affects Adhesive Bonding
Moisture from saliva, blood, or even breath can interfere with the bonding process by compromising the adhesive interface. For example, when moisture comes into contact with etched enamel, it reduces the surface energy, making it harder for the adhesive to spread and penetrate effectively[2].
Dentin, on the other hand, is particularly tricky – it’s highly sensitive to moisture levels. Too much moisture can disrupt the formation of the hybrid layer, while too little can cause collagen fibres to collapse, making it harder for the adhesive to bond properly[2].
Contaminants like saliva, blood, gingival crevicular fluid, and even ambient humidity introduce water molecules that can disrupt the chemical reactions essential for a strong bond[1][6]. Even the adhesive systems themselves can be affected by moisture. For instance, after applying silane to the veneer surface, any leftover moisture can interfere with the chemical reactions needed for a strong bond between the porcelain and resin cement[3].
This highlights why precise moisture management is a non-negotiable part of successful veneer bonding.
Benefits of Proper Moisture Management
Keeping moisture under control significantly lowers the risk of veneers debonding or failing within five years[2]. Strong, durable bonds not only keep veneers securely in place but also preserve their aesthetic appeal.
Proper moisture management also prevents issues like marginal staining and microleakage, which can affect the veneers’ appearance over time[1][8]. Additionally, it helps reduce postoperative sensitivity by ensuring that exposed dentin tubules are fully sealed[2]. For dentists, maintaining strict moisture control means fewer retreatments and remakes, saving valuable chair time and improving long-term patient satisfaction.
Sealing exposed dentin immediately after preparation is another key step – it enhances bond strength and helps minimise sensitivity for the patient[2].
Many top Australian dental practices, such as Complete Smiles Bella Vista, use advanced moisture control techniques to deliver reliable results. By incorporating tools like rubber dam isolation and following precise adhesive protocols, they ensure veneers bond effectively, providing long-lasting and visually appealing outcomes.
Techniques for Managing Moisture During Veneer Bonding
Effective moisture control is essential for successful veneer bonding. Choosing the right technique ensures a clean, dry field and maintains the integrity of the adhesive bond. Here’s a closer look at some practical methods.
Rubber Dam Isolation
Rubber dam isolation is often regarded as the gold standard for moisture control. This involves placing a thin latex or non-latex sheet around the teeth to shield them from saliva, moisture, and breath contamination [1][2]. By creating a consistently dry environment, this technique enhances the durability and reliability of adhesive bonds. It also preserves the etched enamel’s surface energy after a 15–30 second phosphoric acid etch, ensuring the adhesive interface remains intact.
However, this method isn’t without challenges. Patients may experience discomfort, and accessing posterior or subgingival areas can be tricky. These issues can often be addressed by adjusting the dam’s size or using a split-dam approach.
Other Isolation Methods
For cases where rubber dam isolation isn’t practical, several alternative methods can help manage moisture:
- Cotton rolls: These absorb localised moisture but require frequent replacement and don’t provide complete isolation.
- Cheek retractors: These improve visibility and access, particularly for anterior veneers, but don’t absorb moisture and work best when paired with other tools.
- High-volume suction and saliva ejectors: These continuously remove saliva and water spray, offering supplementary moisture control.
- PTFE tape: This is often used to shield neighbouring teeth during adhesive application, helping maintain clean margins.
These alternatives allow flexibility in choosing an approach that suits the specific clinical situation.
Choosing the Right Technique
Selecting the best moisture control method depends on the clinical scenario. For multiple or posterior veneers, rubber dam isolation is usually the preferred choice. However, single anterior veneers may be effectively managed with a combination of cotton rolls, cheek retractors, and suction.
The type of adhesive system also plays a role. Dentin-bonding systems, which are particularly sensitive to moisture, typically require absolute isolation, making rubber dam use critical when dentin is exposed. For procedures involving only enamel bonding, alternative methods may suffice. While rubber dam placement may require extra setup time, it often simplifies the bonding process by minimising the need for ongoing moisture management.
These techniques not only ensure a strong adhesive bond but also contribute to the long-term success of veneers. Leading practices in Australia, such as Complete Smiles Bella Vista, frequently customise their moisture control protocols to align with clinical needs, ensuring both effective bonding and patient comfort.
Adhesive Systems and Moisture Sensitivity
When it comes to veneer bonding, understanding how adhesive systems interact with moisture is essential. Each system behaves differently, and these differences can significantly affect both the bonding process and the veneer’s long-term performance.
Total-Etch vs Self-Etch Systems
Total-etch systems involve a separate step for etching enamel and dentine using 37% phosphoric acid. After etching, thorough rinsing and careful control of moisture are crucial. The challenge lies in finding the sweet spot – overdrying or overwetting the dentine can weaken the bond strength[2][4]. On the other hand, self-etch systems streamline the process by combining etching and priming into a single step, making them less sensitive to moisture variations. While self-etch systems might not achieve the same enamel bond strength as total-etch techniques, they are generally more forgiving, especially when it comes to over-drying.
Total-etch systems shine when bonding to enamel-rich surfaces and are a go-to choice when there’s a significant amount of enamel available. However, they demand precise technique and moisture management. In contrast, self-etch systems simplify the process, reducing the likelihood of post-operative sensitivity. They are particularly advantageous in cases with more dentine exposure or when achieving optimal moisture control is tricky.
| Feature | Total-Etch System | Self-Etch System |
|---|---|---|
| Steps | Separate etch, rinse, and bond | Combined etch/prime and bond |
| Moisture Sensitivity | High (requires precision) | Lower (more forgiving) |
| Enamel Bond Strength | Generally higher | Lower (unless selective etching is used) |
| Dentine Bond Strength | Technique-sensitive | More consistent |
| Post-op Sensitivity | Higher risk | Lower risk |
| Clinical Complexity | More complex | Simpler and faster |
These distinctions highlight how moisture sensitivity influences the choice and application of adhesive systems.
Best Practices for Adhesive Application
For total-etch systems, precision is everything. Start by etching the enamel and dentine with 37% phosphoric acid – apply for 15 to 30 seconds on enamel and 10 to 15 seconds on dentine[2][4]. After rinsing, blot the dentine until it is moist but not overly wet. Follow the manufacturer’s instructions for applying primer and adhesive, and take care to avoid contamination from saliva or blood. Using a rubber dam is essential for maintaining a controlled environment. Finally, light-cure the adhesive as directed.
Self-etch systems are simpler. Apply the adhesive to a clean, slightly moist surface, following the manufacturer’s guidelines. Allow the primer to activate for the recommended time to ensure it penetrates effectively. Then, gently air-thin to evaporate solvents before light-curing. For better enamel bonding, consider selectively etching the enamel with phosphoric acid before using the self-etch system.
In practice, total-etch systems are ideal for enamel-dominant surfaces, such as minimal-prep veneers. Meanwhile, self-etch systems are better suited for cases with significant dentine exposure or when moisture control is challenging. Adhering to these protocols reduces errors and ensures a strong, reliable bond for veneers.
sbb-itb-2be92ed
Step-by-Step Guide to Moisture Control in Veneer Bonding
Achieving strong and long-lasting veneer bonds requires precise moisture control. Here’s how to create the ideal conditions for success.
Preparing the Tooth and Veneer
Start by isolating the tooth. A rubber dam works best, but if that’s not an option, use cotton rolls, saliva ejectors, or OptraGate to manage moisture effectively – this is especially important when using self-etch adhesive systems [9].
To protect adjacent teeth, cover them with PTFE tape. Sandblast any exposed dentine, rinse thoroughly, and then proceed to etching [5]. Enamel should be etched with 37% phosphoric acid for 15–30 seconds, followed by a rinse and careful drying under isolation [1][2]. A properly etched surface will show a "frosty" appearance, indicating successful conditioning [2].
If dentine is exposed during preparation, consider the resin-coating technique. Apply a thin layer of low-viscosity resin immediately after preparation and before taking the final impression. This not only strengthens the bond but also reduces the chances of cracks, bacterial infiltration, and post-operative sensitivity [2].
For the veneer itself, apply silane to the bonding area and let it fully evaporate [1]. This step is crucial for forming a chemical bond between the ceramic and the resin cement.
Once both the tooth and veneer are ready and isolated, you can move on to applying the adhesive.
Applying Adhesive and Placing the Veneer
Apply the bonding system to the tooth by rubbing it in for 20 seconds, then air-dry for 5 seconds. Before seating the veneer, perform a try-in using water or glycerin. A properly applied adhesive should leave a glossy film on the tooth surface [5]. Avoid light-curing the adhesive at this stage, as it could create a thicker layer that interferes with proper veneer placement [5].
Choose a dual-cure or light-cure resin cement that suits the clinical situation [1]. When seating the veneer, apply minimal pressure to prevent air bubbles or excess cement from being trapped in the bonding interface [1]. Modern luting composites are designed to flow under pressure and stabilise once the pressure is released [7]. Start with spot curing to allow for adjustments before fully curing the veneer [1].
Final Checks and Finishing
Once the veneer is seated, focus on removing excess cement and refining the margins. Clear away any extra cement before fully curing [1]. The thixotropic nature of modern luting composites makes this process easier by reducing the risk of cement flowing into the sulcus [7].
Polish the margins using fine diamond burs or polishing discs, and use an interproximal finishing strip to clean tight contacts and ensure no residual cement remains [1]. Check the occlusion in both centric and excursive movements, and finish with a glaze paste to enhance the surface shine and extend the restoration’s lifespan [1]. Record the shade and surface texture for reference during future check-ups.
As always, maintaining strict isolation throughout the process is essential. Any contamination from saliva or blood can weaken the bond and lead to premature failure.
Troubleshooting and Avoiding Common Issues
Moisture control can still present challenges during veneer bonding. Knowing what might go wrong – and how to address it – can make all the difference in achieving reliable, durable results.
Common Problems and Their Causes
Veneer debonding is one of the most frequent issues, with studies reporting failure rates of 5–10% within five years. A major culprit? Moisture contamination. Saliva, blood, or even breath moisture can compromise the etched enamel surface, lowering its surface energy and preventing the adhesive from bonding properly. These weak spots often lead to veneer failure [2].
Post-operative sensitivity is another common problem, typically caused by inadequate sealing of exposed dentine. Moisture contamination allows microleakage, which can lead to bacterial infiltration and trigger sensitivity. This issue often arises when clinicians rush the isolation process or fail to keep the working area dry [2][3].
Marginal staining occurs when leftover cement and saliva contamination create opportunities for staining compounds to seep into the restoration edges.
Reduced bond strength happens when moisture interferes with adhesive polymerisation. Dentin-bonding systems are particularly susceptible due to their sensitivity to technique, especially in less-than-ideal moisture conditions [2][4].
Early signs of contamination include the loss of the etched enamel’s frosty appearance, visible pooling or droplets on the bonding surface, and a lack of gloss in the adhesive layer after air drying. Recognising these signs early and addressing them promptly is critical for consistent outcomes [2][5].
Tips for Consistent Results
To minimise moisture-related problems, stick to proven moisture control protocols and follow these practical tips:
- Isolation is key: Use a rubber dam whenever possible to prevent contamination. If a rubber dam isn’t feasible, combine cotton rolls with continuous saliva ejection, and consider using retraction cords for extra moisture management.
- Manage salivation: For patients with excessive salivation, pre-treat with anticholinergic medications if it’s safe to do so, or schedule procedures during times when salivation is naturally reduced. Positioning the patient upright can also help saliva drain away naturally.
- Prevent cross-contamination: Protect adjacent teeth with PTFE tape to keep them clean and simplify the cleanup process.
- Monitor every step: Check for moisture contamination throughout the procedure, not just before adhesive application. Even brief exposure to breath moisture can affect the bond.
- Correct contamination immediately: If contamination occurs, re-etch and dry the affected area before reapplying adhesive. For severe contamination, removing the veneer and restarting the process may prevent future issues [2][5].
- Keep detailed records: Document recurring contamination patterns to identify and address common issues. Regular training on updated protocols can also help reduce errors.
For cases involving significant dentine exposure, consider the resin-coating technique. Applying a low-viscosity resin immediately after preparation creates a seal that reduces sensitivity and enhances bond strength [2]. This is particularly useful for patients prone to post-operative sensitivity.
Lastly, always follow the manufacturer’s instructions for adhesive systems. Avoid mixing protocols from different systems, as each is designed to function as a cohesive unit. Straying from these guidelines can lead to unpredictable results [4].
Here’s a quick reference table to summarise common problems, their causes, and how to prevent them:
| Problem | Primary Cause | Prevention Strategy |
|---|---|---|
| Veneer debonding | Saliva and breath moisture contamination | Use rubber dam isolation and systematic workflow |
| Post-operative sensitivity | Inadequate sealing of exposed dentine and moisture contamination | Use the resin-coating technique for immediate sealing |
| Marginal staining | Excess cement when moisture is present | Ensure thorough isolation and cement removal |
| Reduced bond strength | Moisture disrupting adhesive polymerisation | Re-etch affected areas and maintain strict moisture control |
Conclusion
Maintaining proper moisture control is key to achieving both immediate and long-lasting veneer bonds [1][2].
By combining reliable isolation methods, like rubber dams, with thorough surface preparation – including 15–30 seconds of etching and correct silane application – clinicians can establish strong and durable bonds [1][3].
The benefits of these techniques go beyond technical accuracy. When moisture control is grounded in evidence-based practices, patients experience better results, fewer retreatments, and more satisfying aesthetic outcomes. Many Australian dental practices that prioritise advanced isolation methods and evidence-backed protocols consistently report improved results and enhanced patient experiences.
Additionally, simplified and systematic approaches can further elevate outcomes. For instance, using HEMA-free resins to minimise water absorption, applying the resin-coating technique for immediate dentine sealing, and maintaining strict contamination control at every step all contribute to the success of veneer restorations [2][3].
As adhesive technologies advance and patients demand superior aesthetics, clinicians who focus on precise moisture control will continue to achieve consistent, long-lasting results. By adhering to evidence-based strategies, they can ensure veneer restorations meet the highest standards of both beauty and durability. Effective moisture control remains a cornerstone for achieving veneers that stand the test of time.
FAQs
How does moisture, such as saliva or blood, impact the bonding strength of veneers?
Moisture from saliva or blood can greatly impact how well veneers bond to teeth. If the tooth surface gets contaminated with moisture during the bonding process, the adhesive may not work as it should. This can weaken the bond and potentially affect how long the veneer lasts.
To address this, dentists often use tools like rubber dams or isolation systems to keep the area dry while working. These methods create the ideal conditions for the adhesive to form a strong, lasting connection. Controlling moisture is a key part of ensuring veneers stay secure and help maintain a long-lasting, beautiful smile.
What are the advantages and disadvantages of using total-etch versus self-etch adhesive systems for veneer bonding?
When it comes to bonding veneers, both total-etch and self-etch adhesive systems are commonly used, each with its own advantages and drawbacks.
Total-etch systems involve using a separate acid to etch the tooth surface. This approach can deliver stronger adhesion and better bond strength. However, it requires a high level of precision during application. Over-etching can lead to increased sensitivity, making technique an important factor in its success.
Self-etch systems, by contrast, streamline the process by combining the etching and priming steps into one. This simplifies the procedure, making it less technique-sensitive and reducing the risk of post-treatment sensitivity. That said, these systems might not achieve the same level of bond strength on enamel as total-etch systems.
Ultimately, the choice between these two methods depends on the specific clinical situation and the dentist’s expertise. Consulting with a skilled professional can help determine the best approach for achieving durable and aesthetically pleasing veneers.
Why is rubber dam isolation considered essential for controlling moisture during dental procedures?
Rubber dam isolation is often considered the gold standard for controlling moisture during dental procedures. By creating a sealed barrier around the treatment area, it keeps saliva, blood, and other fluids from disrupting the process. This not only ensures a clean, dry surface for procedures like fillings or veneers but also helps improve the longevity of these treatments.
Beyond the technical benefits, rubber dam isolation adds to patient comfort by reducing the chance of swallowing or inhaling debris during the procedure. Its use highlights a focus on precision and delivering high-quality care in today’s dental practices.
Related Blog Posts
- Advances in Dental Adhesives: What to Know
- Chemical Adhesion in Dental Bonding: How It Works
- Bond Strength of CAD/CAM Materials with Adhesives
- In-Depth Guide to Veneer Bonding Protocols
Important Notice: Any surgical or invasive procedure carries risks. Before proceeding, you should seek a second opinion from an appropriately qualified health practitioner.
Individual results may vary. The information provided in this article is for educational purposes only and does not constitute medical advice.
Checkout Related Blogs



Get in touch with us
For more information, call us now to start feeling better. Or fill the form below to make appointment
The Latest News from Complete Smiles
How to Clean Clear Plastic Retainers
Checklist for Choosing Wearable Dental Devices
Checklist for Choosing Cloud AI Platforms in Dentistry
Complete Smiles Bella VistaAccepts All Major Health Funds, Including