


How to Floss Properly: Step-by-Step Guide
Flossing is a simple but crucial part of maintaining good oral health. It removes plaque and food particles from areas your toothbrush can’t reach, like between teeth and along the gumline. Regular flossing helps prevent tooth decay, gum disease, and tartar build-up. Here’s what you need to know:
- Why Flossing Matters: It protects against gum disease, which affects 42% of Australian adults over 30. It also reduces risks of systemic health issues like heart disease and diabetes.
- Types of Floss: Options include waxed floss (great for tight teeth), unwaxed floss (thin but prone to fraying), dental tape (gentle for sensitive gums), and floss picks (convenient for travel or limited dexterity).
- Special Tools: For braces or implants, try floss threaders, super floss, or water flossers, which are effective and easy to use.
- Flossing Technique: Use 45 cm of floss, wrap it around your fingers, and gently clean each tooth with a C-shape motion. Avoid snapping floss into your gums.
Flossing daily, paired with proper technique, can improve gum health within a week. If you’re unsure about the best floss or technique for your needs, consult your dentist for personalised advice.
How To Properly Floss Your Teeth (Dental Hygienist Explains)
Choosing the Right Floss
Picking the right floss can make a huge difference in how comfortable and effective your flossing routine is. With so many options available, understanding what works best for your specific dental needs is a step towards better oral hygiene.
Types of Floss
Waxed floss has a thin coating that lets it glide smoothly between teeth, making it a great choice for those with tightly spaced teeth. It’s less likely to shred or get stuck, but some people find it slightly thicker than other options.
Unwaxed floss is thinner and can fit into very tight spaces more easily. However, it’s more prone to fraying or breaking, especially if your teeth are close together. Both waxed and unwaxed floss are effective at removing plaque, so it really comes down to what feels more comfortable for you[1].
Dental tape is broader and flatter than traditional floss, making it gentler on gums and perfect for people with wider gaps between their teeth or sensitive gums. Its increased surface area can clean more of the tooth at once, but it might be too wide for very tight spaces.
Floss picks are small plastic tools with pre-stretched floss, offering convenience and portability. They’re especially useful for kids, people with limited dexterity, or when you’re flossing on the go. However, they might not allow for the same thorough cleaning technique as traditional floss.
| Floss Type | Best For | Pros | Cons |
|---|---|---|---|
| Waxed Floss | Tight teeth | Glides easily, less likely to shred | Slightly thicker, may feel slippery |
| Unwaxed Floss | Normal/tight teeth | Thinner, good tactile feedback | Can fray or break |
| Dental Tape | Wider gaps, sensitive gums | Gentle, covers more surface | Too wide for tight spaces |
| Floss Picks | Convenience, limited dexterity | Easy to use, portable | May not clean as thoroughly |
Next, let’s look at tools designed for braces, implants, and other dental appliances.
Special Flossing Tools
If you have braces, bridges, or implants, traditional floss might not always cut it. Luckily, alternative tools can make cleaning easier and more effective.
Floss threaders are flexible plastic tools that help guide floss under wires and around dental appliances. They’re simple to use and a great way to make sure you’re cleaning hard-to-reach areas.
Super floss is another handy option for people with dental work. It combines a stiffened end for threading, a spongy section for cleaning around appliances, and traditional floss for under the gumline – all in one.
Water flossers (also known as oral irrigators) use a stream of water to clean between teeth and below the gumline. They’re particularly helpful for people with arthritis or limited hand mobility since they require less manual effort. Water flossers are also effective for braces and implants, as they can reach spots that regular floss might miss. While they’re more expensive and less portable than floss, their ease of use is making them increasingly popular.
Professional Guidance
Your dentist or dental hygienist can help you figure out the best flossing tools for your unique needs. They’ll consider factors like the spacing of your teeth, gum sensitivity, and any dental work you might have.
Professionals can also show you the right techniques tailored to your situation. For example, practices like Complete Smiles Bella Vista offer guidance on how to use different flossing tools effectively. This is especially helpful if you have braces, implants, or specific gum concerns that need extra care.
Step-by-Step Flossing Guide
Once you’ve got the right floss in hand, the next step is learning how to use it properly. Following the correct technique is key to removing plaque effectively while keeping your gums safe from harm. Here’s how to floss like a pro.
Preparing Your Floss
Start by cutting about 45 cm of dental floss. Wrap most of it around your middle fingers, leaving around 2–5 cm (or 1–2 inches) of floss to work with between them. This length lets you use a clean section for each tooth, which is essential for thorough cleaning[4]. Relax your lips and cheeks to make it easier to manoeuvre your fingers[5].
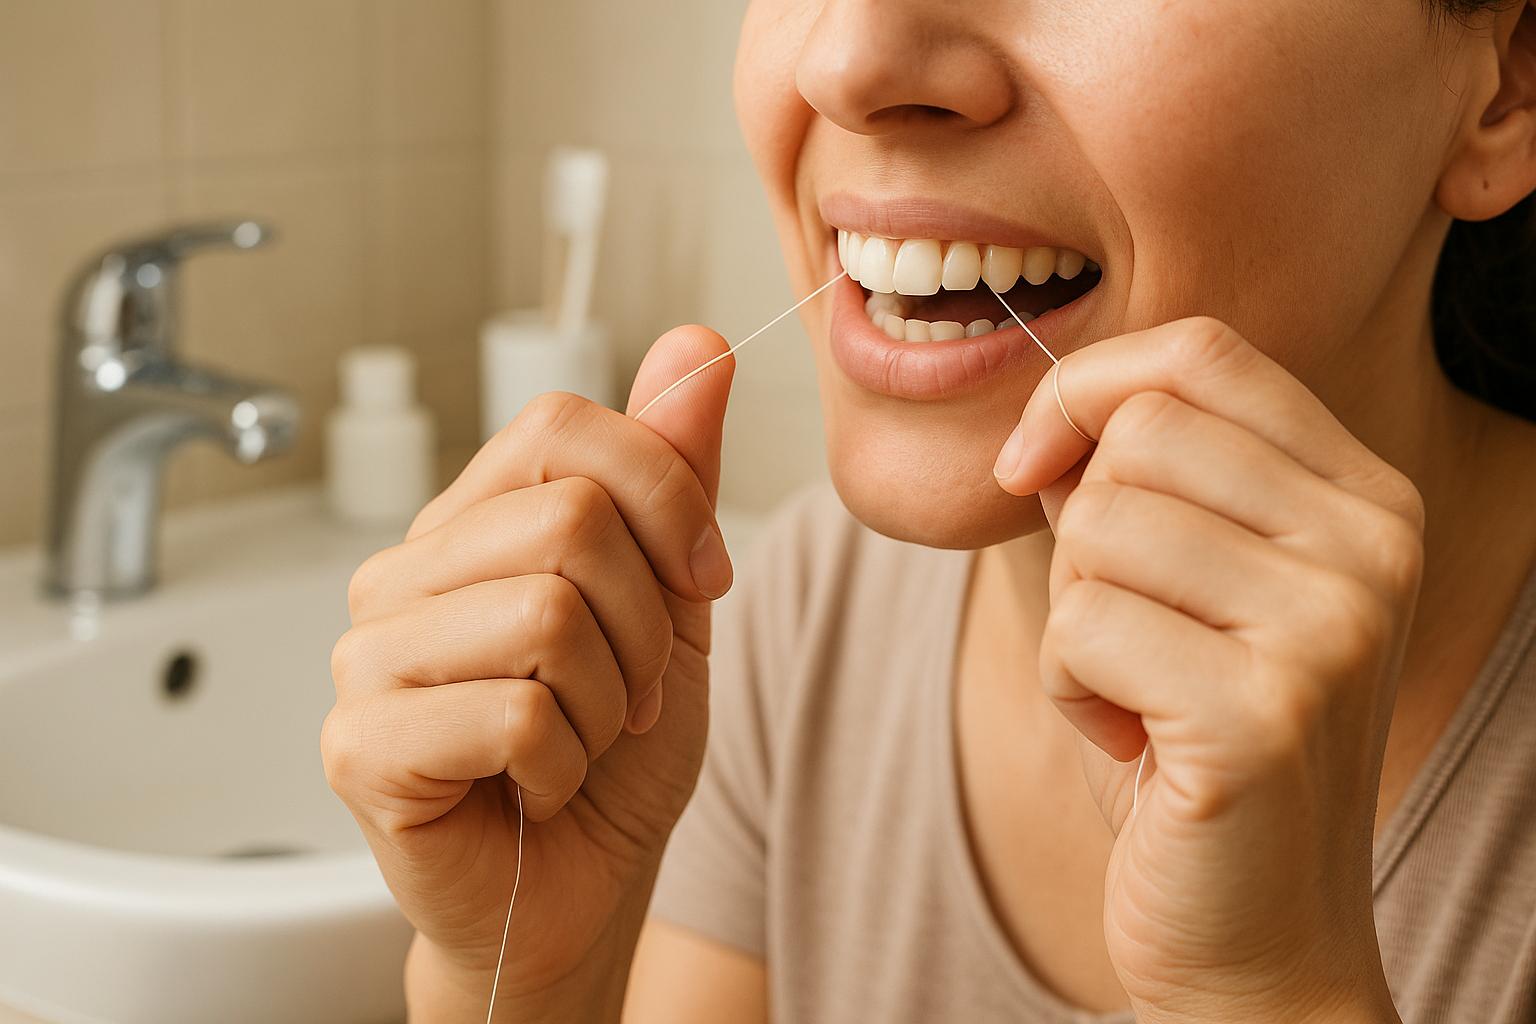
Flossing Each Tooth
Begin with your upper teeth, working methodically from one side of your mouth to the other. Gently guide the floss between your teeth using a side-to-side motion to prevent snapping it into your gums[4][2]. Once the floss reaches the point where your teeth meet, curve it into a C-shape around the tooth. Carefully slide it under the gumline, moving it up and down to clean without causing discomfort[1][2].
Repeat this process for each tooth, ensuring you clean both sides. Use a fresh section of floss for each gap to avoid spreading debris from one tooth to another[5][2].
| Flossing Step | Correct Technique | Common Mistake to Avoid |
|---|---|---|
| Inserting floss | Gently guide with a sawing motion | Snapping it into gums |
| Cleaning tooth sides | Curve into a ‘C’ shape; use up-and-down motion | Skipping the gumline or rushing |
| Floss for each tooth | Use a fresh piece for every tooth | Reusing the same section |
| Back molars | Floss behind the last teeth | Ignoring the back teeth |
Finishing Up
Don’t forget your back molars – they collect just as much plaque as the rest of your teeth[5]. Once you’ve flossed all your teeth, rinse your mouth with water or mouthwash to wash away any loosened debris and bacteria. This is also a good time to check for any bleeding or irritation, which might mean you need to adjust your technique[4][3]. A little bleeding at first is normal and should improve as your gums get healthier over time[1].
If you notice persistent bleeding, pain, or have trouble flossing certain areas, it’s worth seeking advice from a dental professional. They can demonstrate the best techniques for your specific needs. For instance, Complete Smiles Bella Vista (https://completesmilesbv.com.au) offers personalised guidance to help you refine your flossing routine.
Stick with it – regular flossing often reduces gum bleeding and boosts gum health within a week[1].
sbb-itb-2be92ed
Common Flossing Mistakes and How to Fix Them
Even if you’ve nailed the basics of flossing, certain habits can still undermine your efforts. Many people unknowingly make mistakes that can harm their gums or reduce the effectiveness of flossing. By identifying and correcting these habits, you can protect your oral health and get the most out of your daily flossing routine.
Snapping Floss
If you snap the floss into your gums, it can cause unnecessary pain, bleeding, and even gum recession[1][2][4]. To prevent this, slow down and be gentle. Instead of forcing the floss between your teeth, use a gentle side-to-side motion to guide it through. When you reach the gumline, curve the floss into a C-shape around the tooth and move it up and down carefully, avoiding harsh movements below the gumline[1][2][4].
If snapping continues to be an issue, consider switching to waxed floss or dental tape, as these options glide more smoothly between tight spaces[3].
Skipping Teeth or Rushing
Skipping teeth or rushing through flossing often leaves plaque behind, especially on back molars. These teeth are just as prone to plaque buildup as the others, yet they’re frequently overlooked. To avoid missing spots, take your time and clean both sides of every tooth, including the hard-to-reach areas behind your last molars. A good strategy is to follow a systematic routine – start on one side of your mouth and work your way to the other. Proper flossing should take about two to three minutes, not a rushed few seconds.
Reusing Floss
Reusing the same piece of floss can spread debris and bacteria between teeth[2]. Always use a fresh segment for each tooth gap. Start with about 45 cm of floss and wind it around your fingers, unravelling a clean section as you go. This ensures you’re effectively removing plaque and not just moving it around.
If you notice persistent bleeding, pain, or small cuts, this could point to issues with your technique[1]. While some mild bleeding is normal when you first start flossing regularly, ongoing discomfort is a sign that adjustments are needed. If the problem continues even after making changes, consult a dental professional for guidance. Taking the time to address these concerns ensures every tooth gets the thorough cleaning it needs.
Comparing Different Flossing Methods
Now that we’ve explored the various floss types, it’s time to compare different flossing methods to figure out which one aligns best with your dental needs. Picking the right method plays a big role in maintaining consistent oral hygiene.
Traditional Floss vs. Other Options
Each flossing method offers unique advantages and challenges. Here’s a closer look to help you decide which tool works best for you.
Traditional string floss remains the go-to option for removing plaque effectively – when used properly. Its ability to wrap around each tooth in a C-shape makes it highly effective for cleaning just below the gumline. However, it does require a bit of manual skill and might be tricky for people with braces or dental implants.
Water flossers, on the other hand, are a fantastic choice for those who struggle with manual dexterity or wear orthodontic appliances. Studies suggest that water flossers can reduce gum bleeding and gingivitis more effectively than traditional floss in some cases[1].
Dental tape is another great option, especially for people with wider gaps between their teeth or sensitive gums. Its flat, ribbon-like shape makes it gentle and easy to use.
Floss picks are all about convenience. They’re perfect for quick touch-ups or when you’re on the go. However, because they don’t allow for the same precise C-shape technique as string floss, their effectiveness might be slightly limited in certain areas.
| Method | Ease of Use | Effectiveness | Cost (AUD) | Braces/Implants Suitability | Sensitive Gums Suitability |
|---|---|---|---|---|---|
| String Floss | Moderate | High | $3–$8 | Moderate (with threaders) | Good (unwaxed/tape) |
| Floss Picks | Easy | Moderate | $4–$10 | Moderate (ortho picks) | Good |
| Dental Tape | Easy | High (for wide gaps) | $3–$8 | Moderate | Excellent |
| Water Flosser | Very Easy | High (for gum health) | $80–$200 | Excellent | Excellent |
When choosing a flossing method, think about your specific needs. Floss picks and dental tape are great for beginners or kids. If you have braces or struggle with dexterity, water flossers or floss picks can make flossing easier and more effective. For tight spaces, waxed floss or dental tape might work better since they slide more smoothly between teeth.
Ultimately, your comfort and how likely you are to floss daily should guide your decision. Knowing the strengths and limitations of each method can help you take the next step toward a healthier oral care routine.
Key Points for Effective Flossing
To make the most of your flossing routine, keep these practical tips in mind:
- Master the C-shape technique: This method helps you clean plaque from those tricky spots your toothbrush can’t reach. Use about 45 cm of floss, ensuring a fresh section for each tooth to prevent spreading bacteria.
- Be gentle: Avoid snapping or forcing the floss into your gums. Instead, use a smooth, sawing motion to guide the floss between your teeth. If your gums bleed initially, don’t panic – regular, gentle flossing usually improves gum health within a week.
- Pick the right tools: Whether you prefer traditional floss, dental tape, or water flossers (especially handy for braces or limited dexterity), choose what works best for your needs and comfort.
- Floss before brushing: This sequence can help dislodge debris and loosen plaque, making it easier for your toothbrush to finish the job.
If you’re unsure about your technique or which flossing tools suit you best, don’t hesitate to ask your dentist for personalised advice.
Daily, consistent flossing with proper technique is a small habit that delivers big rewards for your oral health – and even your overall well-being. Make it a priority in your self-care routine!
FAQs
How can I tell if I’m flossing incorrectly, and what’s the right way to fix it?
If your gums bleed or feel tender after flossing, it could be a sign that you’re using too much force or not angling the floss correctly along your gumline. Other indicators of incorrect flossing include ongoing discomfort or irritation in your gums.
To refine your technique, try using a gentle, sawing motion to guide the floss between your teeth. Once it’s in place, curve the floss into a C shape around each tooth and carefully slide it beneath the gumline. Be mindful not to snap or push the floss too forcefully, as this can damage your gums. With regular practice, flossing will not only feel more natural but will also play a key role in keeping your teeth and gums in great shape.
What type of floss should I use if I have tight teeth or sensitive gums?
The type of floss that’s best for you really depends on your dental needs. If your teeth are closely spaced, waxed floss or a thinner floss can slide through those tight gaps more easily. For people with sensitive gums, soft floss or floss specifically made for gentle cleaning can help minimise irritation.
If you’re not sure which to choose, your dentist can guide you toward the option that’s right for your oral health.
What are the best flossing alternatives for people with braces or limited dexterity, and how effective are they?
If flossing feels like a struggle – whether it’s because of braces or limited hand dexterity – don’t worry, there are other ways to keep your teeth clean:
- Interdental brushes: These tiny brushes are perfect for reaching between teeth and around braces.
- Floss threaders: They make it much easier to guide floss under braces wires for a deeper clean.
- Water flossers: By using a steady stream of water, these devices help clear away plaque and debris from tight or tricky spots.
Each of these options works differently depending on your specific needs. For the best results, check with your dentist to figure out which method suits you best.
Related Blog Posts
- Step-by-Step Flossing Guide for Beginners
- Research on Interdental Sticks: What Studies Show
- How to Use Interdental Brushes with Braces
- Research on Interdental Brushes and Oral Health
Important Notice: Any surgical or invasive procedure carries risks. Before proceeding, you should seek a second opinion from an appropriately qualified health practitioner.
Individual results may vary. The information provided in this article is for educational purposes only and does not constitute medical advice.
Checkout Related Blogs


Get in touch with us
For more information, call us now to start feeling better. Or fill the form below to make appointment
The Latest News from Complete Smiles
How to Clean Clear Plastic Retainers
Checklist for Choosing Wearable Dental Devices
Checklist for Choosing Cloud AI Platforms in Dentistry

Complete Smiles Bella VistaAccepts All Major Health Funds, Including


