





Complete Guide to Dental Implants: Step-by-Step
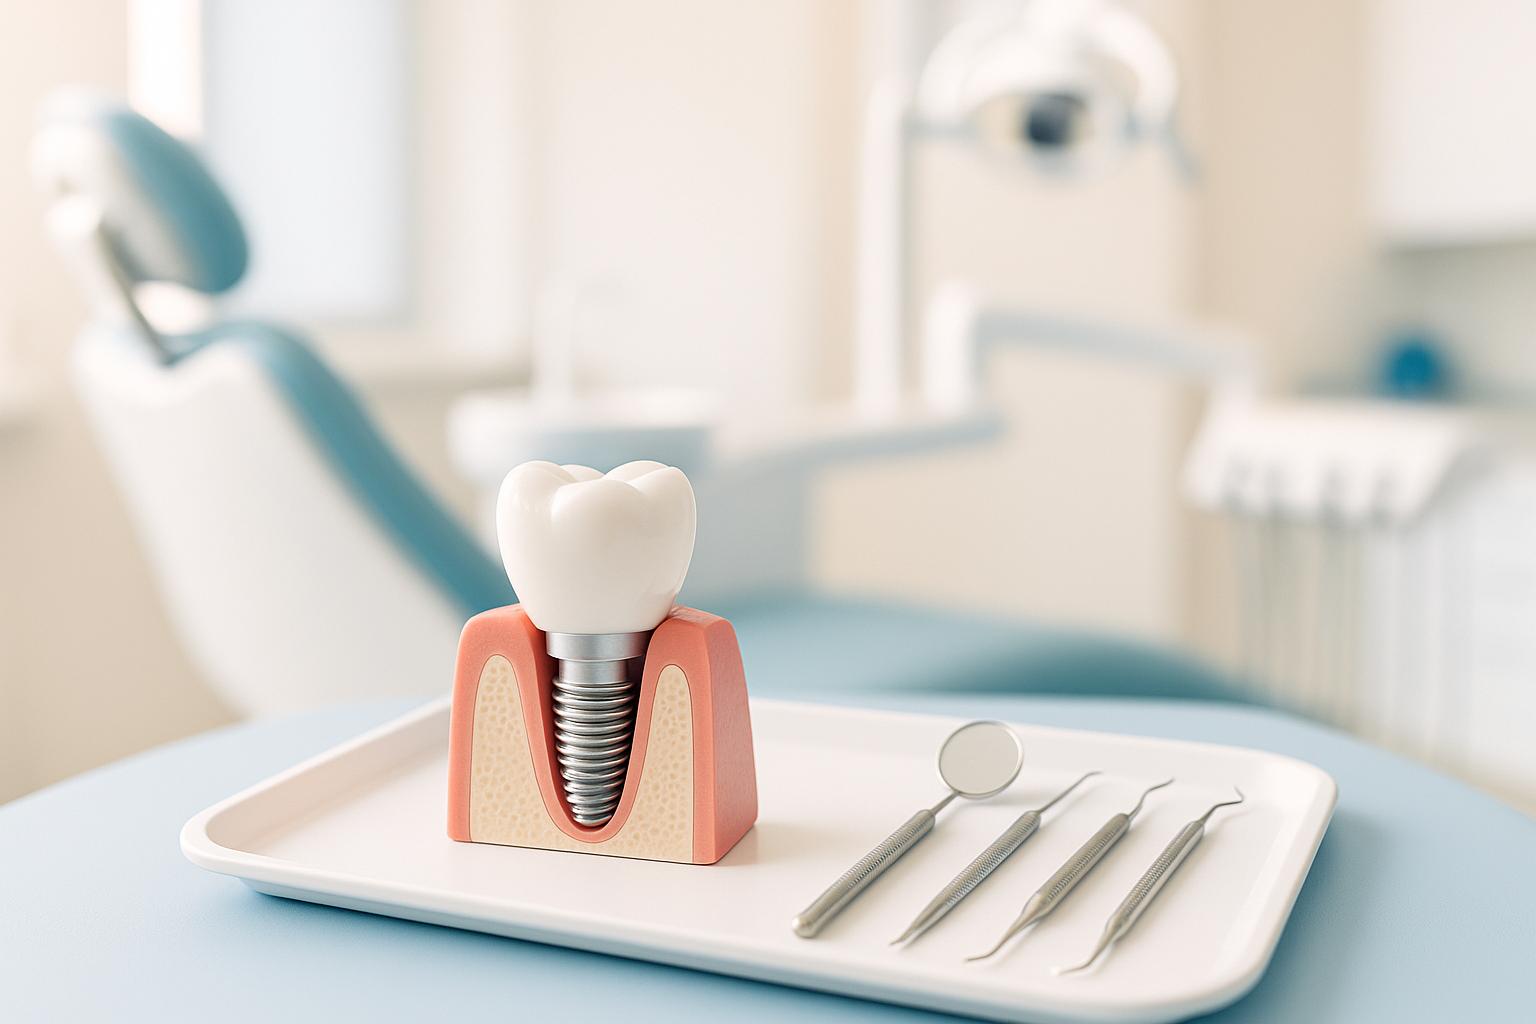
Dental implants have revolutionised the way people approach oral health and aesthetics, offering a long-lasting solution to missing or damaged teeth. But for many, the process of getting a dental implant may seem complex and daunting. This article aims to demystify the dental implant procedure by breaking it down step-by-step, as guided by an experienced dental professional. Whether you’re exploring implants for yourself or a loved one, this comprehensive guide will provide clarity, confidence, and actionable insights.
What Are Dental Implants?
A dental implant is a titanium post surgically placed into the jawbone to replace the root of a missing tooth. This serves as a sturdy foundation for a custom-made crown that restores functionality and aesthetics. Implants are designed to integrate with the surrounding bone, providing a durable and natural-looking solution.
The journey to successful dental implant placement is highly detailed, involving advanced imaging, precision planning, and careful execution – all tailored to the patient’s unique needs.
sbb-itb-2be92ed
Step 1: Assessing the Situation
Every implant journey begins with a thorough evaluation of the patient’s oral health. In the case discussed by the dentist in the source video, the patient presented with a severely broken-down tooth that had lost structural integrity after a large filling had dislodged. Despite the absence of pain, chewing functionality was significantly impaired.
Available Treatment Options
Patients are typically presented with a range of treatment options, which may include:
- No treatment: Leaving the damaged tooth as is, though this can worsen oral health over time.
- Root canal and crown lengthening: Extending the tooth structure to support a new crown. This is viable only when sufficient tooth material remains.
- Tooth extraction and implant placement: Removing the damaged tooth and replacing it with an implant.
- Tooth extraction with bone grafting: Extracting the tooth, adding bone material to preserve jawbone structure, and placing the implant after a healing period (typically 3-6 months).
Step 2: Imaging and Planning
Advanced imaging techniques are critical to ensuring precise treatment planning. In this case, the dentist used a 3D X-ray (or CBCT scan) to evaluate the bone’s volume, density, and quality. This technology allows for a detailed understanding of the anatomical landscape, including important structures like nerves and sinuses, which must be avoided during surgery.
The "Crown-Down" Approach
One of the most critical aspects of implant planning is the "crown-down" approach. This involves envisioning the ideal final position of the crown (the visible part of the tooth) and working backward to determine the optimal placement of the implant.
Improper planning can lead to complications, such as implants being placed in unsuitable positions. For example, if the implant is misaligned, the crown may require excessive adjustment, potentially leading to functional and aesthetic issues.
Step 3: Preserving Bone with Grafting
After the tooth is removed, preserving the surrounding bone structure is essential to ensure the implant remains stable. In this case, the dentist used a bone grafting material made of calcium particles to act as a "scaffold" for new bone growth.
Why Is Bone Grafting Important?
- It maintains the height and volume of the jawbone.
- Prevents bone resorption (shrinkage) after tooth extraction.
- Creates a solid foundation for implant placement.
The healing period after bone grafting typically ranges from 3 to 6 months, allowing the new bone to integrate and stabilise.
Step 4: Guided Implant Placement
Once the bone has healed, the implant can be placed with precision. Modern dental clinics use surgical guides, custom-made devices tailored to the patient’s anatomy. This guide ensures the implant is placed at the exact angle, depth, and position planned during the imaging phase.
Using guided surgery significantly reduces the risk of errors compared to freehand techniques. It also allows for minimally invasive procedures, resulting in faster recovery times and less post-operative discomfort.
Minimally Invasive vs. Traditional Surgery
In many cases, a keyhole approach is used, requiring only a small incision to place the implant. This method minimises trauma to the gums and surrounding tissue. However, if the bone quality or gum health is compromised, a more invasive approach may be necessary to ensure successful implant placement.
Step 5: Healing and Osseointegration
After implant placement, a healing period of approximately 3 months is required for osseointegration – the process by which the bone fuses with the implant. This step is crucial for the long-term stability of the implant.
Once the implant is secured within the bone, a temporary healing cap is placed on top of the implant. This helps shape the surrounding gum tissue, ensuring a natural appearance for the final crown.
Step 6: Designing and Installing the Crown
The final step involves creating and installing the crown, the visible part of the replacement tooth. Using advanced digital scanning technology, dentists can design a custom crown that mimics the shape, size, and colour of the patient’s natural teeth.
The Screw-Retained Crown Technique
The crown is secured to the implant using a tiny screw, which offers several advantages:
- Easy replacement: If the crown needs repairs or colour adjustments, it can be removed without disturbing the implant.
- Minimised risk of infection: Avoids the use of adhesives, which can trap bacteria.
Importance of Expertise in Implantology
Dental implant procedures are highly technique-sensitive. The success and longevity of an implant largely depend on:
- Proper planning and imaging.
- Accurate surgical placement.
- High-quality materials used for the implant and crown.
- Maintenance of oral hygiene and routine dental check-ups.
An implant can last 10-20 years or more with proper care, but complications can arise if the procedure is not performed with precision.
Key Takeaways
- Dental implants are a durable and aesthetic solution for replacing missing teeth, restoring both function and confidence.
- Advanced imaging and planning are critical to ensuring successful implant placement and avoiding complications.
- Bone grafting preserves jawbone structure, providing a strong foundation for the implant.
- Guided surgical techniques offer precision and reduced recovery time, making the procedure more comfortable for patients.
- The screw-retained crown technique simplifies future repairs and reduces the risk of infection.
- Choosing an experienced dentist with expertise in implantology is essential for achieving the best outcomes.
- Implants require regular maintenance and good oral hygiene to maximise longevity.
Conclusion
Dental implants represent the pinnacle of modern dentistry, offering patients an effective and reliable way to restore their smiles. While the process may seem complex, advancements in technology and planning have made it safer, more predictable, and less invasive than ever before. By working closely with a skilled dental professional, patients can enjoy the confidence and comfort of a natural-looking, fully functional smile for many years to come. Whether you’re considering an implant or simply exploring your options, understanding the process is the first step toward making an informed decision.
Source: "Step-by-Step Tooth Replacement (IMPLANTS) | BEFORE & BEYOND EP27" – Dental Designs Clinic, YouTube, Jan 1, 1970 – https://www.youtube.com/watch?v=RVPGuYxHjIU
Use: Embedded for reference. Brief quotes used for commentary/review.
Related Blog Posts
- Dental Implants: Your Top 8 Questions Answered
- Factors Affecting Long-Term Implant Success
- What Is Digital Guided Implant Surgery?
- Dental Implants vs Bridges: Pros and Cons
Important Notice: Any surgical or invasive procedure carries risks. Before proceeding, you should seek a second opinion from an appropriately qualified health practitioner.
Individual results may vary. The information provided in this article is for educational purposes only and does not constitute medical advice.
Checkout Related Blogs



Get in touch with us
For more information, call us now to start feeling better. Or fill the form below to make appointment
The Latest News from Complete Smiles
How to Clean Clear Plastic Retainers
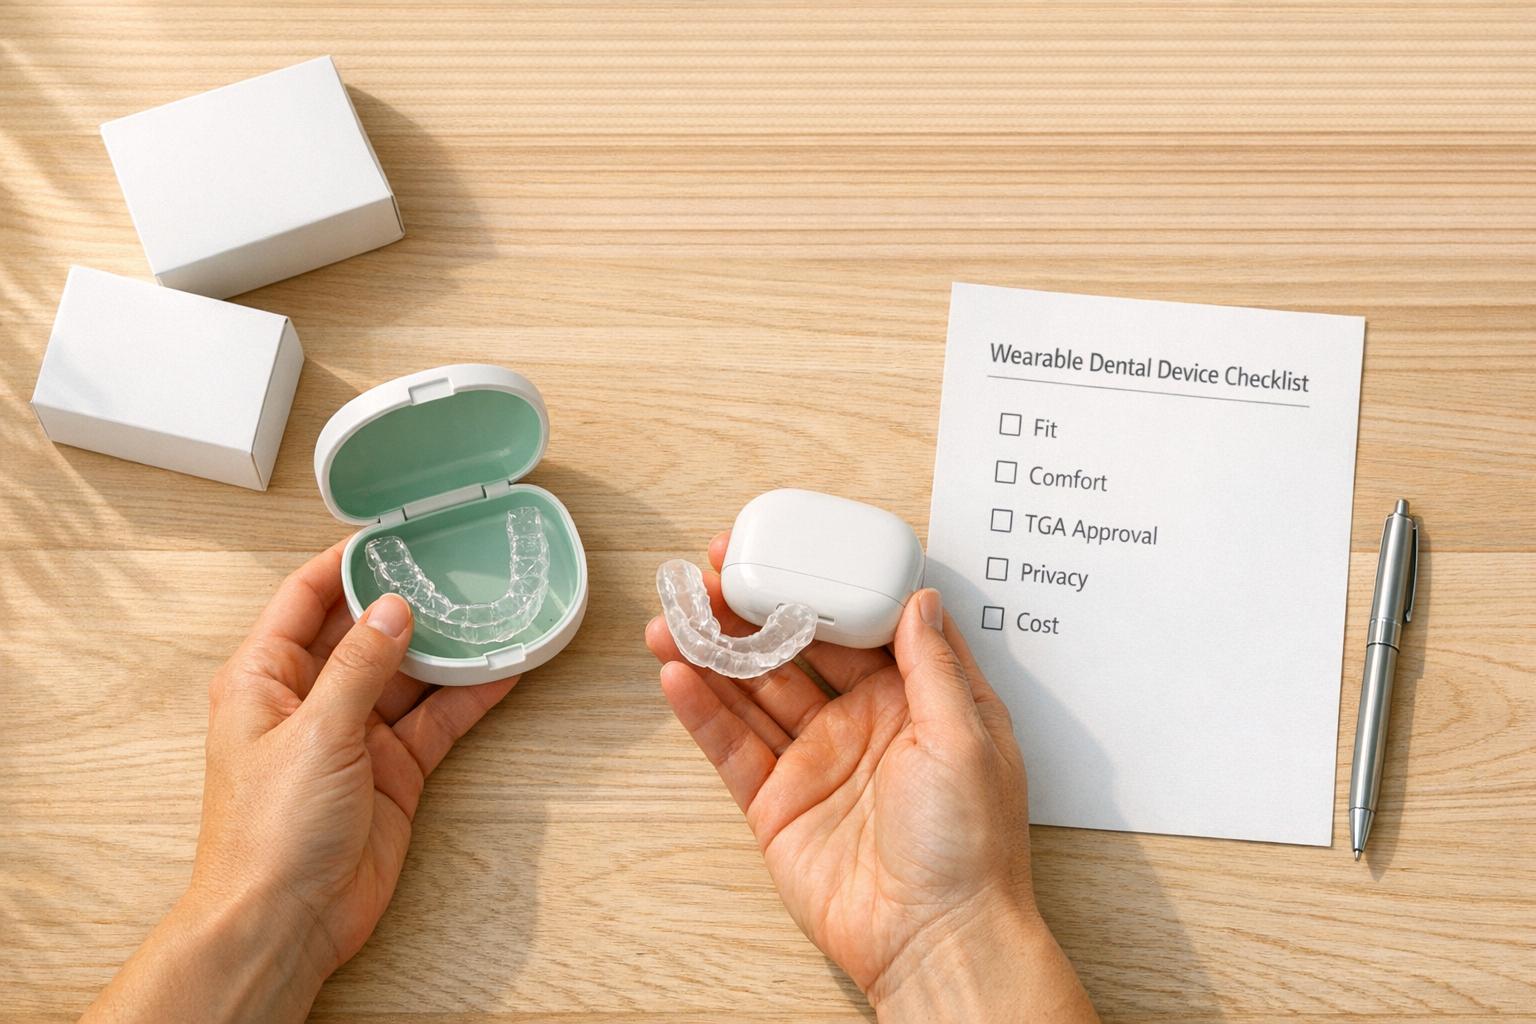
Checklist for Choosing Wearable Dental Devices
Checklist for Choosing Cloud AI Platforms in Dentistry

Complete Smiles Bella VistaAccepts All Major Health Funds, Including